TL;DR
- This guide is for users who want to migrate Binance-peg TRX(Old bep20 TRX) to BTTC-bridged Version TRX(New bep20 TRX).
- Binance-peg TRX :
https://bscscan.com/token/0x85EAC5Ac2F758618dFa09bDbe0cf174e7d574D5B
- BTTC-bridged Version TRX :
https://bscscan.com/token/0xce7de646e7208a4ef112cb6ed5038fa6cc6b12e3
- Overall, there are three steps:
- Deposit your Binance-peg TRX to centralized exchange.
- Withdraw your TRX to the Tron network.
- Bridge your TRX using BTTC Bridge.
- Fees for the cross-chain operation costs roughly 30-40 TRX and 60 BTT. You can get BTT through BTTC Bridge from TRON Network if you don’t have enough BTT.
- The overall cross-chain process time takes about 30 minutes to complete, depending on the network congestion situation and the BTTC bridge checkpoint submission periods.
- The swap radio from Binance-peg TRX to BTTC-bridged Version TRX will be 1:1.
Step 1 Deposit your Binance-peg TRX to centralized exchange
Deposit your Binance-peg TRX from your wallet to centralized exchange.
Step 2 Withdraw your TRX to the Tron network
On centralized exchanges, withdraw the TRX to your wallet address on TRON Network.

Step 3 Bridge your TRX using BTTC Bridge
- Open https://app.bt.io/bridge, and click on CONNECT WALLET.

- Connect both your TRON LINK Wallet and Metamask Wallet with BSC Network.

- On the main page,
- Select TRON Network as “From” network.
- Select BSC Network as “To” network.
- Select TRX as “Token”.
- Fill in the amount of TRX you want to transfer.
- Click Cross-Chain.

- Click “Continue”.
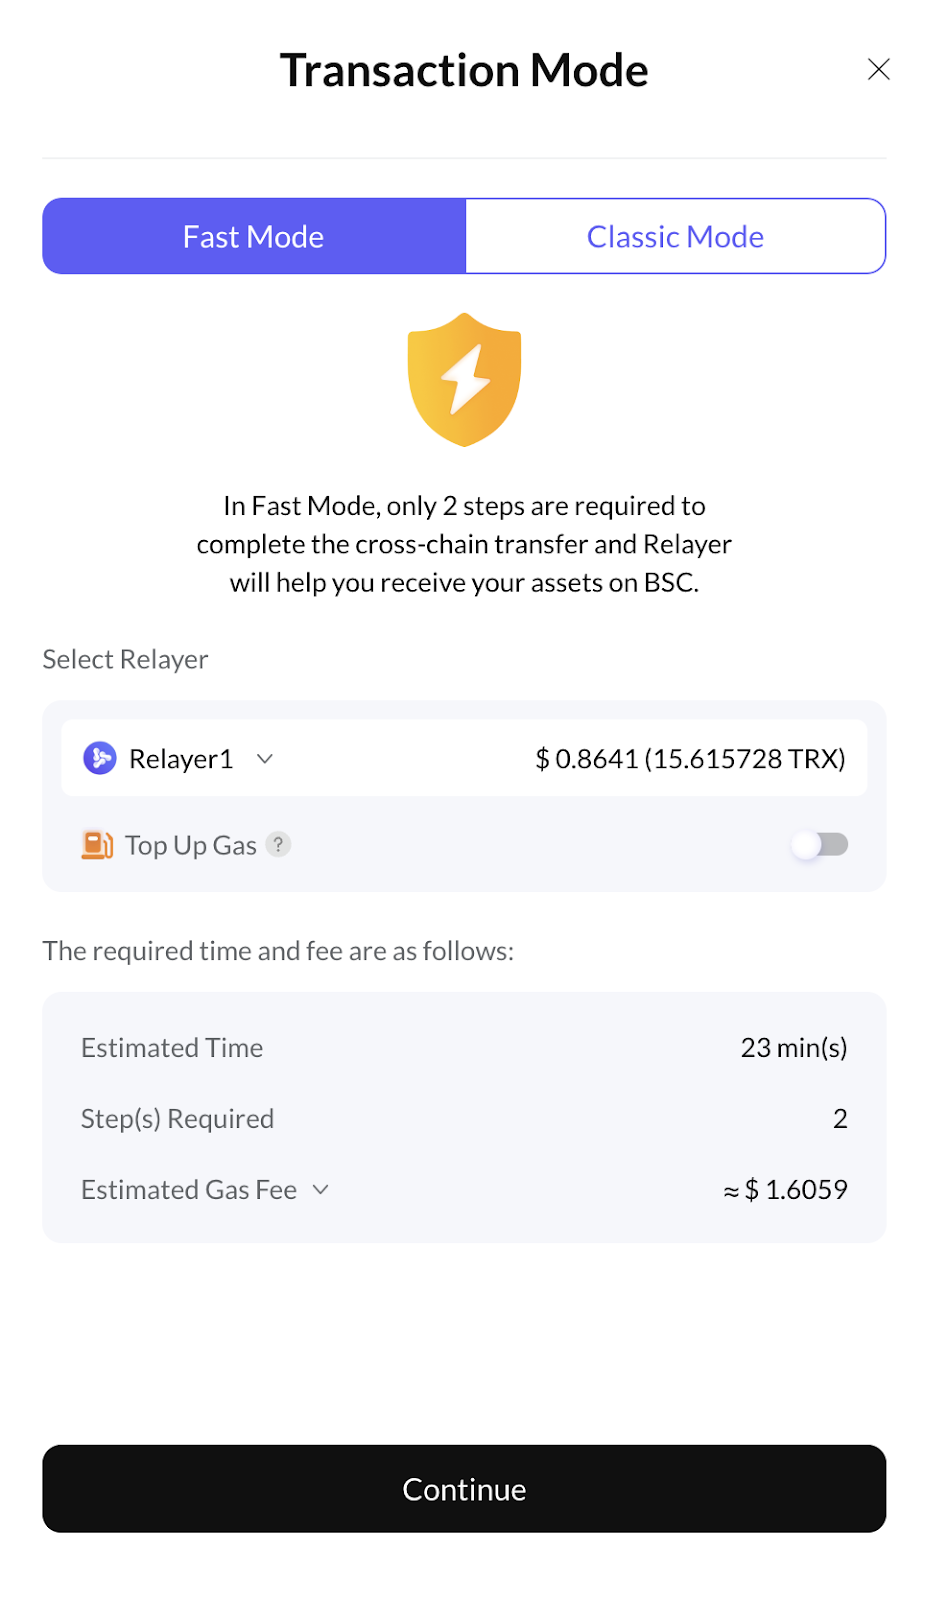
- Click “Cross-Chain”.

- It will pop up a window to sign the contract.

- Click “Approve” and confirm “Switch network” in the Metamask pop up window.

- In case the bridge transaction takes too long, you can check your transaction status at any time by clicking the bell button on the upper right corner

- Click “Confirm”.

- It will pop up a Metamask window to ask for transaction confirmation. Click “Confirm”.

d) Wait for the Transfer process to complete and you are all good to go.
